
Don’t Starve Together (DST) is an incredibly popular multiplayer survival game that challenges players to survive in a harsh, unforgiving world. While the game can be enjoyed in solo mode, its multiplayer version offers an exciting opportunity to collaborate (or compete) with friends. To get the best multiplayer experience, many players opt for hosting a Don’t Starve Together server, or better yet, a Don’t Starve Together dedicated server. In this guide, we’ll walk you through everything you need to know about setting up and managing a DST server, so you and your friends can play together without interruptions.
What is a Don’t Starve Together Server?
A Don’t Starve Together server is a multiplayer world where players can gather to play the game together in real-time. These servers can be hosted in two main ways:
- Hosted Server: A temporary server hosted on your machine while you’re playing.
- Dedicated Server: A persistent server hosted on either a personal machine or through a professional hosting provider, which remains online even when the host isn’t playing.
For those who want a stable, 24/7 server that doesn’t require one player to be online, a dedicated server is the best option.
Why Set Up a Dedicated Server for Don’t Starve Together?
A Don’t Starve Together dedicated server (or DST dedicated server) offers several benefits:
- 24/7 Uptime: A dedicated server runs constantly, allowing players to join and leave the game whenever they want, even if the host isn’t online.
- Better Performance: Dedicated servers usually offer better performance, especially if hosted on robust hardware.
- Customization: You can configure the server with custom world settings, mods, and rules, making it a perfect fit for your group’s playstyle.
- More Players: Dedicated servers can handle more players than a regular hosted game, depending on the server’s hardware and bandwidth.
How to Set Up a Don’t Starve Together Dedicated Server (Step-by-Step Guide)
Setting up a DST dedicated server is relatively straightforward, especially if you’re familiar with managing game servers. Here’s how to do it:
Step 1: Download and Install the Dedicated Server Files
- SteamCMD: The recommended way to install a DST dedicated server is through SteamCMD. Download SteamCMD from the official Valve website.
- Install DST Server:
- Open SteamCMD and log in anonymously:Копіювати код
login anonymous - Install the DST dedicated server files by entering the following command:Копіювати код
app_update 343050 validate - This will download the dedicated server files for Don’t Starve Together. By default, the files are stored in the SteamCMD directory.
- Open SteamCMD and log in anonymously:Копіювати код
Step 2: Configure the Server
- Create a New Folder: Create a new folder for your server settings in your Documents folder. For example:mathematicaКопіювати код
C:\Users\[YourUsername]\Documents\Klei\DoNotStarveTogether - Create Server Settings Files:
- Navigate to the
Cluster_1folder in theDoNotStarveTogetherfolder. This is where you can configure your server’s settings. - Open the cluster.ini file to configure the server settings such as server name, password, number of players, and more. Here’s a simple example:makefileКопіювати код
[GAMEPLAY] game_mode = survival max_players = 6 [NETWORK] server_port = 10999 default_server_name = "My DST Server" default_server_description = "A Fun Place to Survive!" server_password = "mypassword" - In the worldgenoverride.lua file, you can customize the world settings like season length, world size, resources, etc.
- Navigate to the
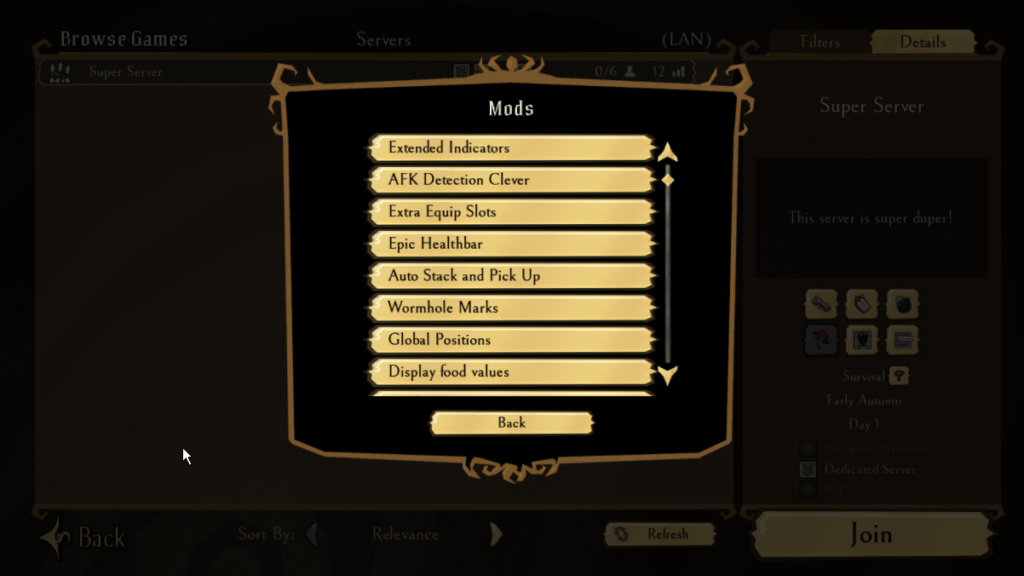
- Enable Mods (Optional): If you want to add mods to your server, you can do this by adding the mod IDs to the modoverrides.lua file in the
Cluster_1folder.
Step 3: Start the Dedicated Server
- Run the Server: Go back to the folder where you installed the DST dedicated server files. Run the server by executing the
dontstarve_dedicated_server_nullrenderer.exefile. This will start your server without opening the game itself (hence “nullrenderer”). - Monitor Server: Keep the command window open to monitor server performance and log entries such as player joins, resource generation, or errors.
Step 4: Joining the Server
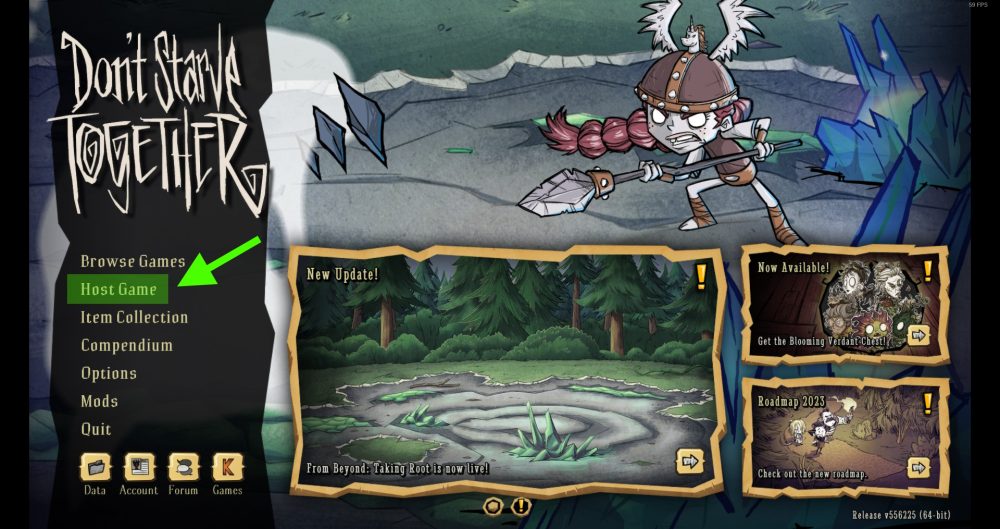
- Find Your Server: To join your server, open Don’t Starve Together and go to the Browse Games section. Look for your server’s name in the list or use the search function to locate it.
- Direct Connection: Alternatively, players can connect directly using the server’s IP address and port by selecting Join Game and entering the server details.
Hosting a Dedicated Server with a Hosting Provider
If you don’t want to manage the server on your own machine, you can rent a DST dedicated server from professional hosting providers. These services typically offer easy setup, good performance, and support for mods and customizations. For more information visit the best free minecraft server hosting.
Benefits of Using a Hosting Provider:
- 24/7 Uptime: The server will remain online even if your personal computer is off.
- Easy Setup: Many hosting providers offer one-click setup for Don’t Starve Together servers, making it easy to get started.
- Automatic Backups and Updates: Professional hosts often provide automatic backups and server updates, so you don’t have to worry about keeping things up to date.
- Support: Access to customer support in case of technical issues.
Popular hosting providers include:
- GTXGaming: Offers custom settings, mod support, and good server performance for DST servers.
- Nitrado: Known for flexible pricing and easy setup for beginner server hosts.
- Survival Servers: A trusted provider offering 24/7 support and good performance for Don’t Starve Together.
Managing Your Don’t Starve Together Server
Once your server is up and running, you’ll need to manage it to keep things running smoothly. Here are some key aspects of managing your DST server:
1. Admin Commands
As a server admin, you’ll have access to various commands to manage players and the world. Some important admin commands include:
- Kick a player:
/kick [playername] - Ban a player:
/ban [playername] - Save the world:
/c_save()
2. Modding and Customization
DST servers allow for heavy customization through mods. You can easily add mods to your server by updating the modoverrides.lua file. Mods can be found and downloaded through the Steam Workshop, providing extra features such as custom characters, new biomes, or gameplay mechanics.
3. Backups
Regularly back up your server’s world files to avoid losing progress in case of a crash or other issues. Most hosting providers offer automated backup solutions, or you can manually copy the world folder from your server directory.
Conclusion
Hosting a Don’t Starve Together dedicated server gives you full control over your game world, offering the flexibility to customize settings, play with mods, and let players join at any time. Whether you’re hosting it locally or renting from a hosting provider, setting up a DST server is a straightforward process that allows you and your friends to enjoy the game together with enhanced performance and control. Get your server up and running today and dive into the survival madness of Don’t Starve Together!